

MongoDB is a hugely popular NoSQL database engine that is continuing to grow both in terms of its userbase and its feature-set.
Given the ongoing push for rapid application development and the need to adapt quickly to changing requirements, MongoDB provides a platform where you can iterate quickly and change course as needed.
In more recent times, MongoDB has become a very well-rounded database engine, with features such as Multi-Document Transactions and the Aggregation Pipeline, making it suitable for many different application scenarios.
My aim in this article is to help make the process of understanding how to get a MongoDB development environment up and running as straightforward as possible and to provide some advice along the way.
Following on from this content, I’ll be creating a follow-up post covering how to get started with MongoDB queries. I hope you come along with me on this journey to get up and running with a best-in-class document-oriented database.
Background
Before getting stuck into the setup process, first of all, let me provide you with a little bit of background on MongoDB.
Feel free to skip to the Setup section if you already know the background and just want to get started.
MongoDB is an open-source cross-platform NoSQL document database.
It was first developed back in 2007 by a company called 10gen as part of their own development stack to support a PAAS (Platform as a Service) offering they were developing at that time. Unfortunately, the PAAS offering didn’t work out as planned, but 10gen believed their database was pretty good and MongoDB was open-sourced in 2009.
In 2013 10gen changed its name to ‘MongoDB Inc.’ and became a publicly-traded company in 2017. Since then their share prices have increased dramatically. The company is now worth billions and is continuing to grow; a good sign when you’re thinking of investing in new technology!
NoSQL
At this point, you might be wondering what the term ‘NoSQL’ means.
NoSQL (Not Only SQL) is a term that loosely describes databases that are not primarily relational and usually don’t have a SQL-like query language (although this isn’t always the case).
Instead of tabular data, NoSQL databases usually consist of either document, key-value, wide-column, or graph data model types.
As mentioned previously, MongoDB is a document-oriented database.
Documents
MongoDB is classed as a document database because unlike a relational database such as SQL Server that stores data in rows and tables, a document database stores data in documents that are organised within collections.
In the case of MongoDB, these documents are stored in BSON (Binary JSON) format. BSON is essentially JSON encoded in a binary format that allows for more efficient parsing of data. BSON supports all of the same data types as JSON (String, Number etc.) as well as some additional data types such as ObjectId and ISODate.
The example below is taken from the MongoDB website and I believe it shows the differences very clearly.
{ "hello": "world" } →
\x16\x00\x00\x00           // total document size
\x02                       // 0x02 = type String
hello\x00                  // field name
\x06\x00\x00\x00world\x00  // field value
\x00                       // 0x00 = type EOO ('end of object')
Despite the above, it is important to note that when interacting with MongoDB, documents look for all intents and purposes like JSON documents (albeit with the additional data types). You’ll never need to deal with the binary representation in your day-to-day operations.
MongoDB is great for storing both structured and unstructured data due to the schema flexibility it permits and its powerful indexing capabilities.
There is a lot more that could be covered in this section, but rather than repeat too much of what is already out there, I highly recommend visiting the MongoDB website. In addition to a plethora of articles and whitepapers, it provides an extremely comprehensive manual. The website is choc-full of information that will help to give you a solid understanding of the MongoDB concepts you’ll need to understand after you get your development environment set up.
Setup
When it comes to setting up MongoDB, there are two main options to consider, whether you are configuring MongoDB for development, testing, or production purposes.
Note that this article focuses on how to set up a MongoDB development environment on a Windows machine. However, as a cross-platform database, MongoDB can be installed on Windows, Mac, and various Linux distros.
Option one is to create a free MongoDB Cluster in the cloud via MongoDB Atlas.
Option two is to download and install MongoDB Server on your machine.
I’m going to cover option two and show you how to get MongoDB Server up and running on your development machine. This will afford you the opportunity to explore the internals of MongoDB and will also provide you with the ability to work with databases offline while developing your applications.
MongoDB Server
The official MongoDB website is the place to go for any downloads that are needed.
To get started, head over to the MongoDB Download Center. Under the ‘Available Downloads’ section, press the ‘Download’ button. By default, the most appropriate Version, Platform, and Package should be selected for you.
After the download is complete, run the MSI package to launch the setup wizard.
You will be greeted by the Welcome page of the wizard, as shown below.
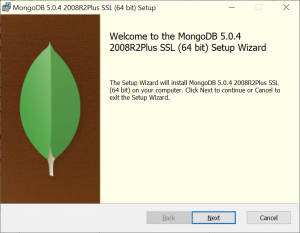
Press ‘Next’ to proceed to the End-User License Agreement page.
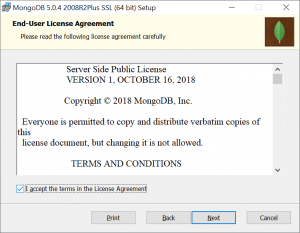
Providing you are happy with the license terms, tick the checkbox and then press the ‘Next’ button to proceed to the Choose Setup Type page.
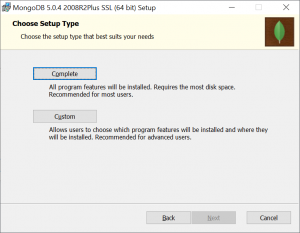
If required, you can press the ‘Custom’ button if you want to customise which features are installed.
However, for the purposes of setting up a development environment, a Complete installation is usually best.
Press the ‘Complete’ button to proceed to the Service Configuration page.
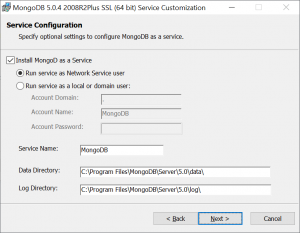
I recommend leaving the settings on the Service Configuration Page at their default values, especially the Service Name for the sake of consistency. If required, you may choose to run the service under a different user account or specify alternate installation directories.
Press the ‘Next’ button to proceed to the Install MongoDB Compass page.
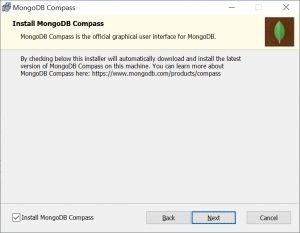
As stated on the wizard, “MongoDB Compass is the official graphical user interface for MongoDB”.
I recommend that you leave the ‘Install MongoDB Compass’ checkbox ticked as MongoDB Compass is a very useful tool for visualising and managing your data.
Press the ‘Next’ button to proceed to the Install page.
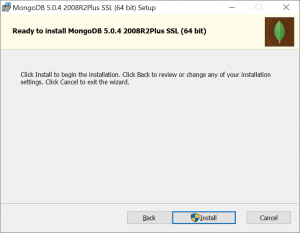
If you’re ready to proceed, go ahead and press the ‘Install’ button to commence the installation process.
You’ll need to press ‘Yes’ on the UAC (User Account Control) prompt to allow the wizard to complete the installation with administrative privileges.
Note that if you have SQL Server installed and running on your machine, you may receive a prompt requesting you to close SQL Server and attempt to restart it. If you choose to leave SQL Server running, a system reboot will be required.
The installation usually takes a few minutes to complete.
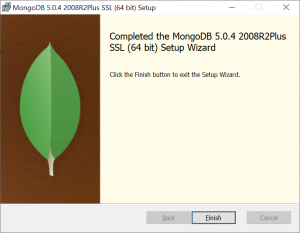
When the installation completes the Finish page will be displayed.
Press the ‘Finish’ button to close the setup wizard.
After installing MongoDB Server you’ll see that a new ‘MongoDB’ service has been registered on your machine and the service executable has been installed at the following location (assuming that you didn’t change the installation directory in the wizard).
C:\Program Files\MongoDB\Server\5.0\bin\mongod.exe
Now that all of that MongoDB Server has been installed we can start working with MongoDB, either from the command line, or visually via MongoDB Compass.
MongoDB Compass
If you chose to install MongoDB Compass as part of the MongoDB Server setup, as per the advice in the previous section, then MongoDB Compass will launch automatically.
If you prefer to set up MongoDB Compass separately, you can download and install it from the MongoDB Download Center. For Windows, there are options to download an MSI package, EXE, or a zip file containing the program files.
When MongoDB Compass starts up for the first time you’ll see a Welcome pop-up that will provide you with a tour of the latest features that the app offers. After advancing through the tour you’ll want to adjust the options that appear within the ‘Privacy Settings’ dialog according to your preferences and then press the ‘Start Using Compass’ button.

From the main MongoDB Compass interface, you can connect to your local MongoDB Server instance and start managing your databases.
I’ll cover MongoDB Compass usage in more detail in a future article.
MongoDB Shell
MongoDB Server comes with a command-line tool (mongo), that can be use to query databases and perform administrative tasks. It is installed into the same directory as the main mongod service executable.
However, MongoDB released a new product in 2020 called MongoDB Shell (mongosh). It is now the recommended way of interacting with MongoDB even though it isn’t deployed along with MongoDB Server currently.
Old shell
If you’re happy to use the older shell, you’ll need to launch it from your terminal to start using it. The shell executable can be found at the following location, assuming that you didn’t change the installation directory in the wizard.
C:\Program Files\MongoDB\Server\5.0\bin\mongo.exe
It can be useful to add the directory containing the shell to your path. Doing so allows you to simply type mongo within your terminal to launch the shell.
New shell setup
Like MongoDB Server, setting up the new MongoDB Shell is very straightforward.
Firstly, head over again to the MongoDB Download Center and press the ‘Download’ button under the ‘Available Downloads’ section.
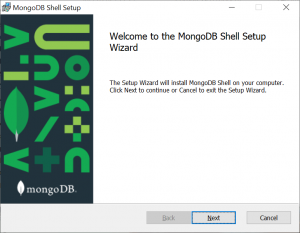
After the download has completed run the MSI package to launch the MongoDB Shell Setup wizard.
As per the MongoDB Server setup wizard, you will be greeted by the Welcome page of the wizard, as shown below.
Press ‘Next’ to proceed to the Destination Folder page.
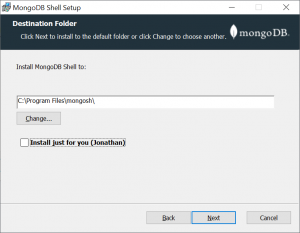
The Destination Folder page defaults to installing the program for the current user only.
I prefer to uncheck the ‘Install just for you’ checkbox to install the program centrally into Program Files, so that I have the shell available across development and testing user accounts on my development machine. However, this choice is down to personal preference and the specifics around your particular environment.
Press the ‘Next’ button to proceed to the Install page.
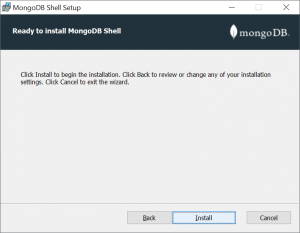
Press the ‘Install’ button when you’re ready to commence the installation process.
You’ll need to press ‘Yes’ on the UAC (User Account Control) prompt to allow the wizard to complete the installation with administrative privileges.
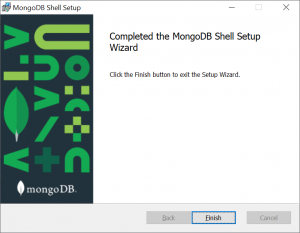
When the installation completes the Finish page will be displayed.
Press the ‘Finish’ button to close the setup wizard.
After installation, the MongoDB Shell executable can be found at the following location (assuming that you didn’t change the installation directory in the wizard and that you unchecked the ‘Install just for you’ checkbox).
C:\Program Files\mongosh\mongosh.exe
As part of the installation process, the MongoDB Shell install directory gets added to the system path. This means that you can launch the new shell immediately by typing mongosh from your terminal.
Testing the setup
Before wrapping up this article, let’s test our setup to ensure that we have a valid installation of the server and shell.
From your terminal (e.g. Command Prompt or PowerShell) type mongosh (or mongo for the old shell) to launch the shell and connect to the local MongoDB server.
MongoDB Server comes with some system databases and we can verify that these exist by executing the following command.
show dbs
For a fresh MongoDB installation, the output should look similar to the following.
admin   41 kB
config  36.9 kB
local   41 kB
Based on the above, it looks like we have a valid installation!
If you need help, execute the help command.
Type exit or quit to close the shell.
In my next article, I will demonstrate some of the other commands, allowing you to perform various actions such as switching between databases. I’ll also be digging into the exciting topic of how to create and query documents!
Summary
In this article, I have provided background on MongoDB and explained some of its basic concepts.
I’ve walked through how to install MongoDB Server locally on your Windows machine for development purposes.
I’ve also touched on MongoDB Compass, the official MongoDB GUI, and MongoDB Shell, the new shell used for interacting with MongoDB servers from the command line.
Lastly, I’ve shown you how to verify that your MongoDB installation is valid from your terminal.
Comments