

If you have an Azure Web App with multiple custom domains and you want to enable TLS (Transport Layer Security), you’ll need to add a TLS/SSL certificate binding for each hostname.
These bindings can be configured individually via the Azure Portal web interface. However, if the number of hostnames is large, updating the TLS/SSL binding for each hostname one at a time can be quite a chore.
TLS/SSL certificates that are purchased from a certificate authority, or from a reputable reseller, will usually expire after one year. After this, a new certificate must be purchased, uploaded to the cloud, and assigned to each hostname.
This article documents how to replace the manual process of updating TLS/SSL bindings via the Azure Portal with a PowerShell script that can automate the process instead.
Azure Portal
Before reviewing the PowerShell script, let’s take a quick look at how certificates and bindings are managed within the Azure Portal to help put things into context.
Private Key Certificates
TLS/SSL certificates that are purchased from a certificate authority/reseller need to be uploaded to Azure before they can be used for Web Apps, Function Apps, or any other type of Azure resource that supports TLS/SSL bindings.
The interface that allows certificates to be uploaded for an Azure Web App can be accessed by opening the Web App in the Azure Portal and selecting the ‘TLS/SSL settings’ link on the left-hand panel. After the TLS/SSL settings blade has loaded, select the ‘Private Key Certificates (.pfx)’ tab and then press the ‘Upload Certificate’ link.
The user interface should look similar to the screenshot below.
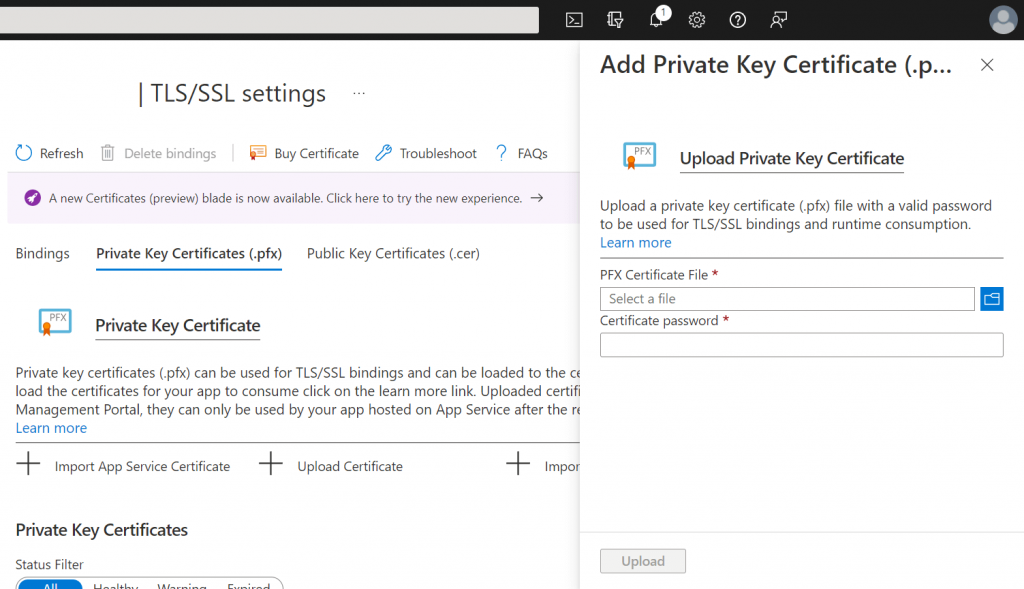
To add a certificate, you need to browse to and select the ‘PFX Certificate File’, enter the ‘Certificate password’, and then press the ‘Upload’ button.
Following this, the certificate will appear within the list of certificates under the ‘Private Key Certificates’ heading.
TLS/SSL Bindings
The TLS/SSL bindings for hostnames are also configured within the TLS/SSL settings section of the Azure Portal interface within the ‘Bindings’ tab.
When you click on a hostname within the list under the ‘TLS/SSL bindings’ heading you will be presented with a form that allows you to update the TLS/SSL Binding settings, as shown in the screenshot below.
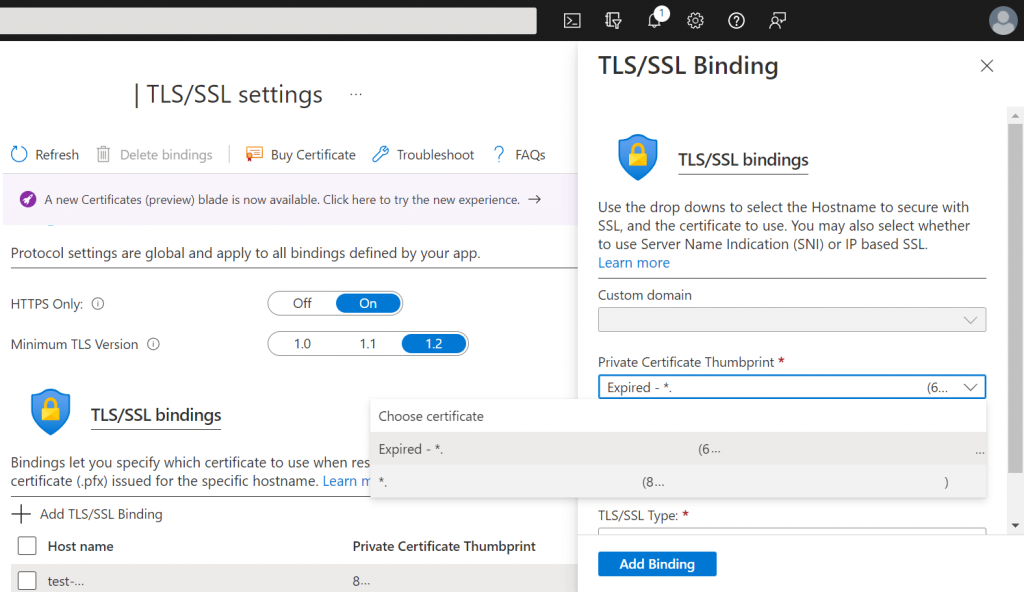
Note that several elements from the above screenshot have been removed for privacy reasons.
If you already have a binding configured for the selected hostname you can usually leave all of the existing settings as they are, except for the ‘Private Certificate Thumbprint’ drop-down which should be updated by selecting the new certificate you previously uploaded.
After selecting the correct certificate, press the ‘Add Binding’ button to update the binding to the new certificate.
If you are updating the binding manually via the Azure Portal interface, you need to repeat the above steps for each hostname i.e. click on the next hostname in the list, select the new certificate, add the binding, and repeat.
This is a very tedious and time-consuming process which we will automate via a PowerShell script in the following section.
Azure PowerShell
PowerShell is a powerful scripting language that is very extensible and allows us to automate lots of tasks.
The Azure Az PowerShell module allows us to connect to an Azure account and interact with Azure resources programmatically.
Az module installation
Before we can connect to Azure via PowerShell we first need to install the Az module.
To do this, open up a PowerShell terminal and run the following command.
Install-Module -Name Az -Scope CurrentUser -Repository PSGallery -Force
The above command will install the Az module for the current user from the PSGallery (PowerShell Gallery) repository. It usually takes a few minutes for the installation process to complete.
Connecting to Azure
After installing the Az module, we need to connect to the required Azure account.
We can initiate this process by running the following PowerShell command.
Connect-AzAccount
After the above command has been executed, a dialog that looks like the screenshot below will be displayed.
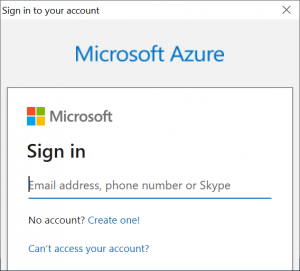
When the above dialog appears, enter your email and password, followed by pressing the ‘Sign in’ button to complete the authentication process.
After connecting to the required Azure account, you can begin using the Az module cmdlets to interact with your Azure resources using PowerShell.
PowerShell script
The PowerShell script below can be used to programmatically update the TLS/SSL binding of every hostname for the specified Azure Web App. I recommend using the PowerShell ISE or Visual Studio Code (with the PowerShell extension) to create a PowerShell file containing the code below so that you can amend the script easily and save it for future use.
# Configure the certificate thumbprint, resource group, and web app name.
$certificateThumbprint = "9G2G2V30502FG33GFGD3HW64327KWJ10G5EKS02G"
$resourceGroupName     = "rg-my-resource-group"
$webAppName            = "as-my-web-app"

# Get the web app, based on its resource group and name.
$webApp = Get-AzWebApp -ResourceGroupName $resourceGroupName -Name $webAppName

# Update the TLS/SSL binding for every custom hostname.
foreach ($hostName in $webApp.HostNames)
{
    if ($hostName.EndsWith("azurewebsites.net"))
    {
        # Skip the default Azure hostname.
        continue
    }

    # Add/update the binding to the certificate with the specified thumbprint.
    New-AzWebAppSSLBinding `
        -ResourceGroupName $resourceGroupName `
        -WebAppName $webAppName `
        -Thumbprint $certificateThumbprint `
        -Name $hostName

    Write-Host "Updated binding for: $hostName"
}
Note that the value of the $certificateThumbprint variable above is a random string used for illustration purposes.
Before executing the script you will need to update the following three variables at the top of the code listing.
$certificateThumbprint$resourceGroupName$webAppName
The $certificateThumbprint variable should be set to the certificate thumbprint value shown within the TLS/SSL bindings listed on the Azure Portal. The $resourceGroupName and $webAppName variables should be set according to the name of the Azure Web App you want to update the bindings for and the name of the Resource Group which said Azure Web App is contained within.
Note that if you get an error message about ‘execution policy’ when you try to run the script, try running the command below to update your execution policy.
Set-ExecutionPolicy RemoteSigned
After setting the variables listed further above, the script uses the Get-AzWebApp cmdlet to get an PSSite object instance.
A foreach loop is then used to iterate through the strings contained within the HostNames property of the PSSite object. As the HostNames property contains the default Azure hostname for the site (e.g. as-my-web-app.azurewebsites.net) a check has been put in place to skip to the next hostname when this hostname is encountered.
The New-AzWebAppSSLBinding cmdlet is used to add a binding according to the specified Resource Group, Web App, thumbprint, and hostname. If a binding already exists for the hostname, it will be updated instead i.e. there’s no need to worry about accidentally creating duplicate bindings.
Lastly, after the New-AzWebAppSSLBinding cmdlet has been called, the Write-Host cmdlet outputs the hostname that the binding was updated for by way of reference.
I’m sure you’ll agree that this approach is much preferable compared to the manual process!
Summary
In this article, I have demonstrated how to use PowerShell in conjunction with the Azure Az PowerShell module to update TLS/SSL bindings for Azure Web Apps in bulk.
I started by documenting how the Azure Portal can be used to upload certificates and how you can add TLS/SSL bindings manually for each hostname that is assigned to an Azure Web App.
I then walked through how to install the Azure Az PowerShell module and connect to the required Azure account.
Finally, I provided the source code for a script that can access an Azure Web App and update each of its hostnames to use a new certificate binding without any manual work required.
Comments