

YARP (Yet Another Reverse Proxy) is a versatile and highly performant reverse proxy library for .NET.
If you’re a .NET developer seeking to develop a web application that utilises a reverse proxy to enable things like load balancing, caching and SSL termination, and you require a great degree of customisation, YARP is the ideal solution for you.
With YARP, you’ll be leveraging the reverse proxy library that Microsoft uses alongside the Kestrel web server to power Azure App Services, handling hundreds of billions of HTTP requests every single day. If scalability is a concern for you, it shouldn’t be anymore after considering that!
In this article, I’ll walk you through how to set up and run your first ASP.NET Core web application that uses the YARP library to route requests to configured destinations.
Wiring up
Let’s dive in and set up a sample project that includes YARP so that we can gain a better understanding of it.
Prerequisites
Before getting started, you’ll need an IDE, such as Visual Studio Code or Visual Studio. Visual Studio 2026 has recently been released at the time of writing, and I highly recommend downloading and installing it.
I’ll be using the latest and greatest .NET (.NET 10), which has also just been released as of November 2025.
Project setup
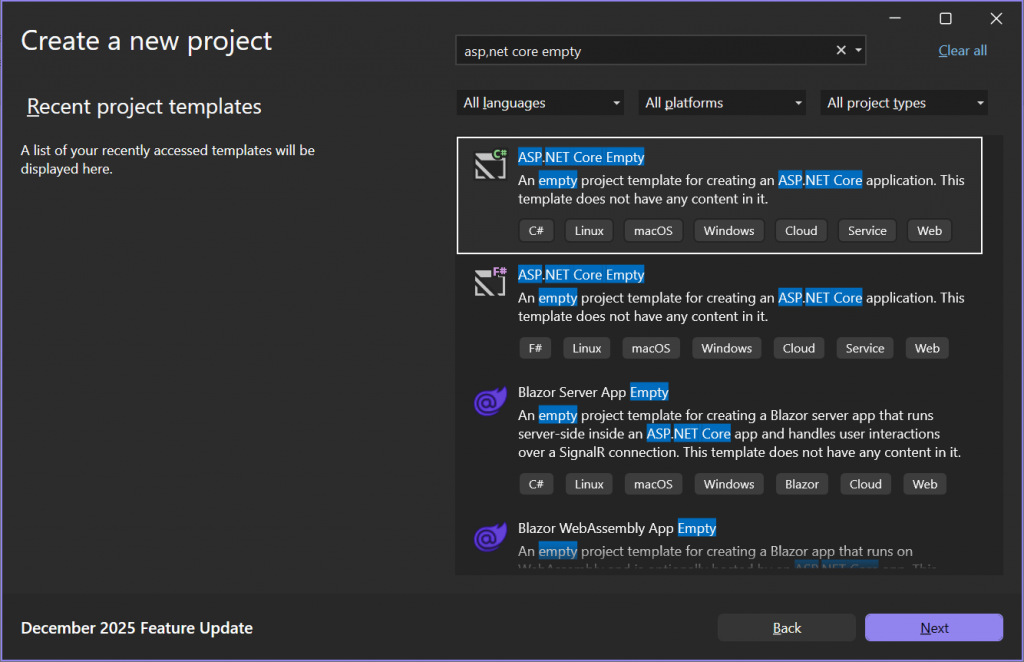
To start with, let’s create an empty ASP.NET Core web application.
To do this, you can run the following code from the command line.
dotnet new web -n YarpDemo
Alternatively, you can create the project using your favourite IDE/editor. The screenshot below shows the Visual Studio 2026 new project interface.
I recommend using .NET 10 to benefit from the latest performance improvements, among other benefits.
NuGet package
After creating the project, we need to add the NuGet package reference to our .csproj file.
You can do this using the following command.
dotnet add package Yarp.ReverseProxy
Alternatively, within Visual Studio, right-click on your project and select the ‘Manage NuGet Packages…’ option from the context menu, then find and install the Yarp.ReverseProxy package.
Middleware
The next step is to update the Program.cs file with the following contents.
var builder = WebApplication.CreateBuilder(args);

builder.Services.AddReverseProxy()
    .LoadFromConfig(builder.Configuration.GetSection("ReverseProxy"));

var app = builder.Build();

app.MapReverseProxy();

app.Run();
In the above code, the AddReverseProxy method is called on the service collection to register the YARP services, followed by the LoadFromConfig method to load the YARP configuration from a “ReverseProxy” configuration section.
Following this, the MapReverseProxy method on the web application instance is called to wire up the YARP middleware, which routes incoming requests and processes responses from downstream services.
Configuration
Before attempting to run the application locally, you’ll need to add a “ReverseProxy” section to the appsettings.json configuration file, as shown below.
{
  "Logging": {
    "LogLevel": {
      "Default": "Information",
      "Microsoft.AspNetCore": "Warning"
    }
  },
  "AllowedHosts": "*",
  "ReverseProxy": {
    "Routes": {
      "route1": {
        "ClusterId": "cluster1",
        "Match": {
          "Path": "{**catch-all}"
        }
      }
    },
    "Clusters": {
      "cluster1": {
        "Destinations": {
          "destination1": {
            "Address": "https://dotnet.github.io/yarp/"
          }
        }
      }
    }
  }
}
The YARP configuration defined within the “ReverseProxy” section is comprised of two main subsections named “Routes” and “Clusters”. I’ll explain these further in the section that follows.
For now, with this configuration in place, the application should run successfully, forwarding the initial web application request to https://dotnet.github.io/yarp/ by default when the web browser loads.
Note that you may receive a prompt to trust the ASP.NET Core SSL Certificate if you’re running a web application via Visual Studio for the first time. This is normal, and you can safely proceed to install the root certificate in this case to avoid SSL warnings when debugging locally.
Routing explained
Now that we have a basic sample application set up, let me briefly explain the YARP configuration.
Routes
Within the “ReverseProxy” section of the appsettings.json file, the “Routes” section contains a collection of named route configurations.
For each route configuration, you must specify a route name (e.g. "route1") that uniquely identifies the route, a “ClusterId” (e.g. "cluster1") that refers to an entry within the “Clusters” section, and a “Match” object where you’ll typically specify a “Path” pattern (e.g. "{**catch-all}").
As the wording suggests, the "{**catch-all}" pattern will match anything and route the incoming request to the specified cluster.
Clusters
Alongside “Routes”, the “Clusters” section contains a collection of named cluster configurations.
So what is a cluster?
A cluster represents the list of destination addresses that incoming requests can be routed to. In a simple scenario, such as in the configuration from the previous section, a single destination can be specified within the cluster. However, it’s possible to specify multiple destinations for a cluster to allow for load balancing, etc.
Service routing
Imagine we are developing an application that uses a Service-based or Microservices architecture, and we want to use YARP as the API Gateway. In this case, we’d like to route incoming requests to the various backend services without needing to expose any of these to the outside world and/or to enable load balancing of the incoming requests.
Here’s another very simple example that shows how you can map a specific route pattern to a particular cluster.
{
  "Logging": {
    "LogLevel": {
      "Default": "Information",
      "Microsoft.AspNetCore": "Warning"
    }
  },
  "AllowedHosts": "*",
  "ReverseProxy": {
    "Routes": {
      "todos": {
        "ClusterId": "jsonplaceholder",
        "Match": {
          "Path": "/todos/{**catch-all}"
        }
      }
    },
    "Clusters": {
      "jsonplaceholder": {
        "Destinations": {
          "default": {
            "Address": "https://jsonplaceholder.typicode.com/"
          }
        }
      }
    }
  }
}
With the above configuration in place, any requests to our application that have a path starting with ‘/todos’ will be forwarded to the JSONPlaceholder server for processing. For this demonstration, let’s imagine that the JSONPlaceholder address represents the base URL for our own service that provides todo-related API endpoints.
You can try this out for yourself when running the application locally with this new configuration.
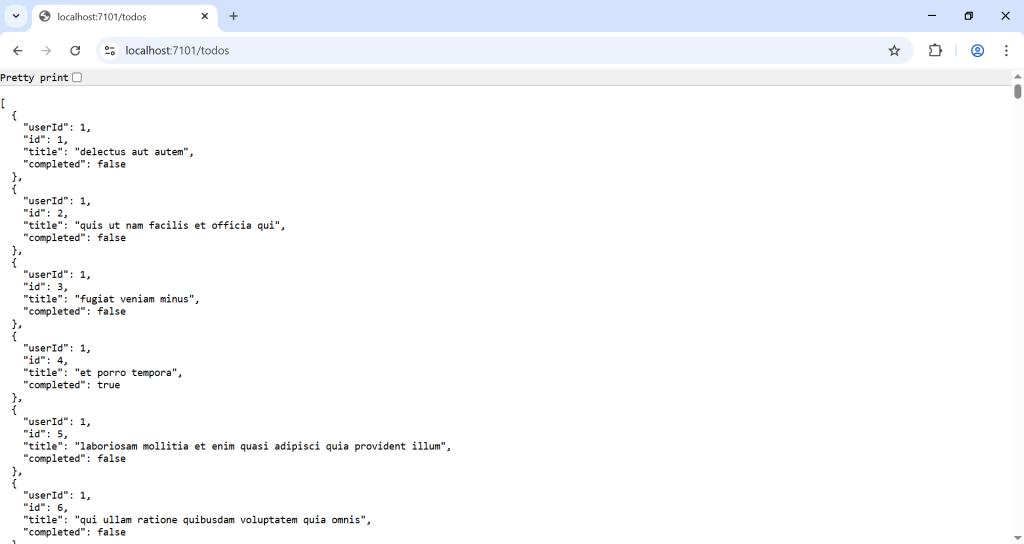
As an example, let’s say your local address when debugging the application is as follows: https://localhost:7101/
In that case, you can try navigating to the following address: https://localhost:7101/todos
You should find that the request is forwarded to JSONPlaceholder, and the response will include a JSON list of todo objects that have been served by the JSONPlaceholder backend.
Nice!
With this in place, any todo requests will be forwarded to the service that handles todos. As another example, a specific todo could be retrieved using this path: https://localhost:7101/todos/1
To extend this, we can add more routes and cluster configuration entries as needed. If we had another service that handled user-related requests, we could add another named route with a suitable match path pattern (e.g. "/user/{**catch-all}") and point this route at a cluster with a destination that points at the user service address.
Summary
This article provided a brief introduction to getting started with YARP. However, I’ve only begun to scratch the surface and intend to post further articles on the topic to help with some common requirements.
After following along with the steps included in this post, you should now be aware of how to create a new project that uses YARP and understand how to set up a basic route and cluster configuration to handle the common scenarios.
I will provide links to future YARP blog posts here, where I’ll cover additional configuration options that will help you with more real-world scenarios to help you progress your project as quickly as possible.
Transforming requests and responses with YARP
Comments